To quote my mentor for my apprenticeship, Brian Giampa “There is more than one way to skin a cat”, and what he meant when he was saying that to me, was that there are many ways to accomplished the completion of a desired task. To which I would respond with somethign along the lines of “That’s cool, but I’d like to know how you would skin it, and that way I can build on that knowledge before making it my own, rather than having to reinvent the wheel, so to speak”. (Truth be told I’m never as articulate in the moment, but I do try).
Having done things Brian’s way, and then working for countless other contruction leaders before eventually completing the new Harmonized Provincial Red Seal in Carpentry at BCIT, I learned that indeed there are many ways to “Skin a cat”. What I also learned is that an untold amout of flow is lost in discussing and deciding which way we are goign to skin it, usually resulting in the most dominant perosnality dictating the way, rather than a democratic decision based on efficiency or logic. A rational solution meant starting this page and formulating a readily revised document explaining how we do things and why.
Naturally, if superior ways of completing the same or better results are possible, this document will be revised and credit given where credit is due. This way all people on site, new and old, and the homeowner too, should they wish to partake in quaility control and know whats going on and why.
Work in progress but the idea is eventually we’ll be able to Click the headings below or contact us for an up to dated printable document.
-Site Surveying.
Crucial locations and set backs and corners of walls to be established by surveyor. For smaller builds, a level mock up or string line of finished foundation wall heights created (or as an offset) This becomes the last opportunity to edit orientation to view, prior to excavation, or at least prior to construction of footings.
-Excavations and trucking estimations.
Follow ITA standards
-Drainage, Plumbing, Conduits, +Footing designs (confimred by engineer and checked against current searchable BCBC).
-Foundation Wall designs. (Always as per plan, make them the true size of walls) plates then hang over the pour strip by 1/4″ and plywood makes up the other 1/2″ void created by the 3/4 pour strip. Rain screen and siding then protrude past this, making the actual exterior measurements of the building larger than the dimensions on the foundation and framing plan, and thus should be factored in when building structures that are designed to be less than 10m2 (108ft2) to avoid involving building departments.
-Drainage, Plumbing, Conduits, Drain Tile, Damp Proofing.
As per BCBC standards. If in doubt, but in extra conduits for water & power.
-Sill Gaskets, Bottom Plate, and Floor systems.
Before even placing the plates both sides of the walls and all doorways are to snapped out with a chalk line and clearly labelled.
This is especially important is if there is radiant floor pipes under slab.
Always cut out the plate between doorway before pinning the plates to the slab, as this is where the pipes run. Always set a depth on the hammer drill, and then even if a mistake is made, the pipes should be deeper than the nails penetrate.
-Wall Systems, headers, sheathing.
Foundations are prone to moving slightly and can end up imperfect. In order to make the rest of the build easy we want to establish a datum for level. Ideally choose a high corner on foundation wall and upon confirming difference between that and elevation drawings, make that the standard stud length. For small buildings, Set a laser at 10″ and always use that location for all other studs. Mark foundation walls for +/- to nearest 1/16 of an inch. No need to involve builders level and doubling up potential for human error and instrument error. For larger buildings, kick it old school, and use the builders level, or laser level.
-Roof systems
Trusses and I joists are awesome and come with plans, but are not always necessary. When designing and building a roof with dimensional lumber as much as possible maintain truss direction. This makes for easy strapping, sheathing and ventilation.
-Engineering and Back Framing
Do not deviate from pEng drawings. The clients have paid for their work, and even though every carpenter seems to believe they know better, we might not, so they make the recipe, we mix it, simple as.
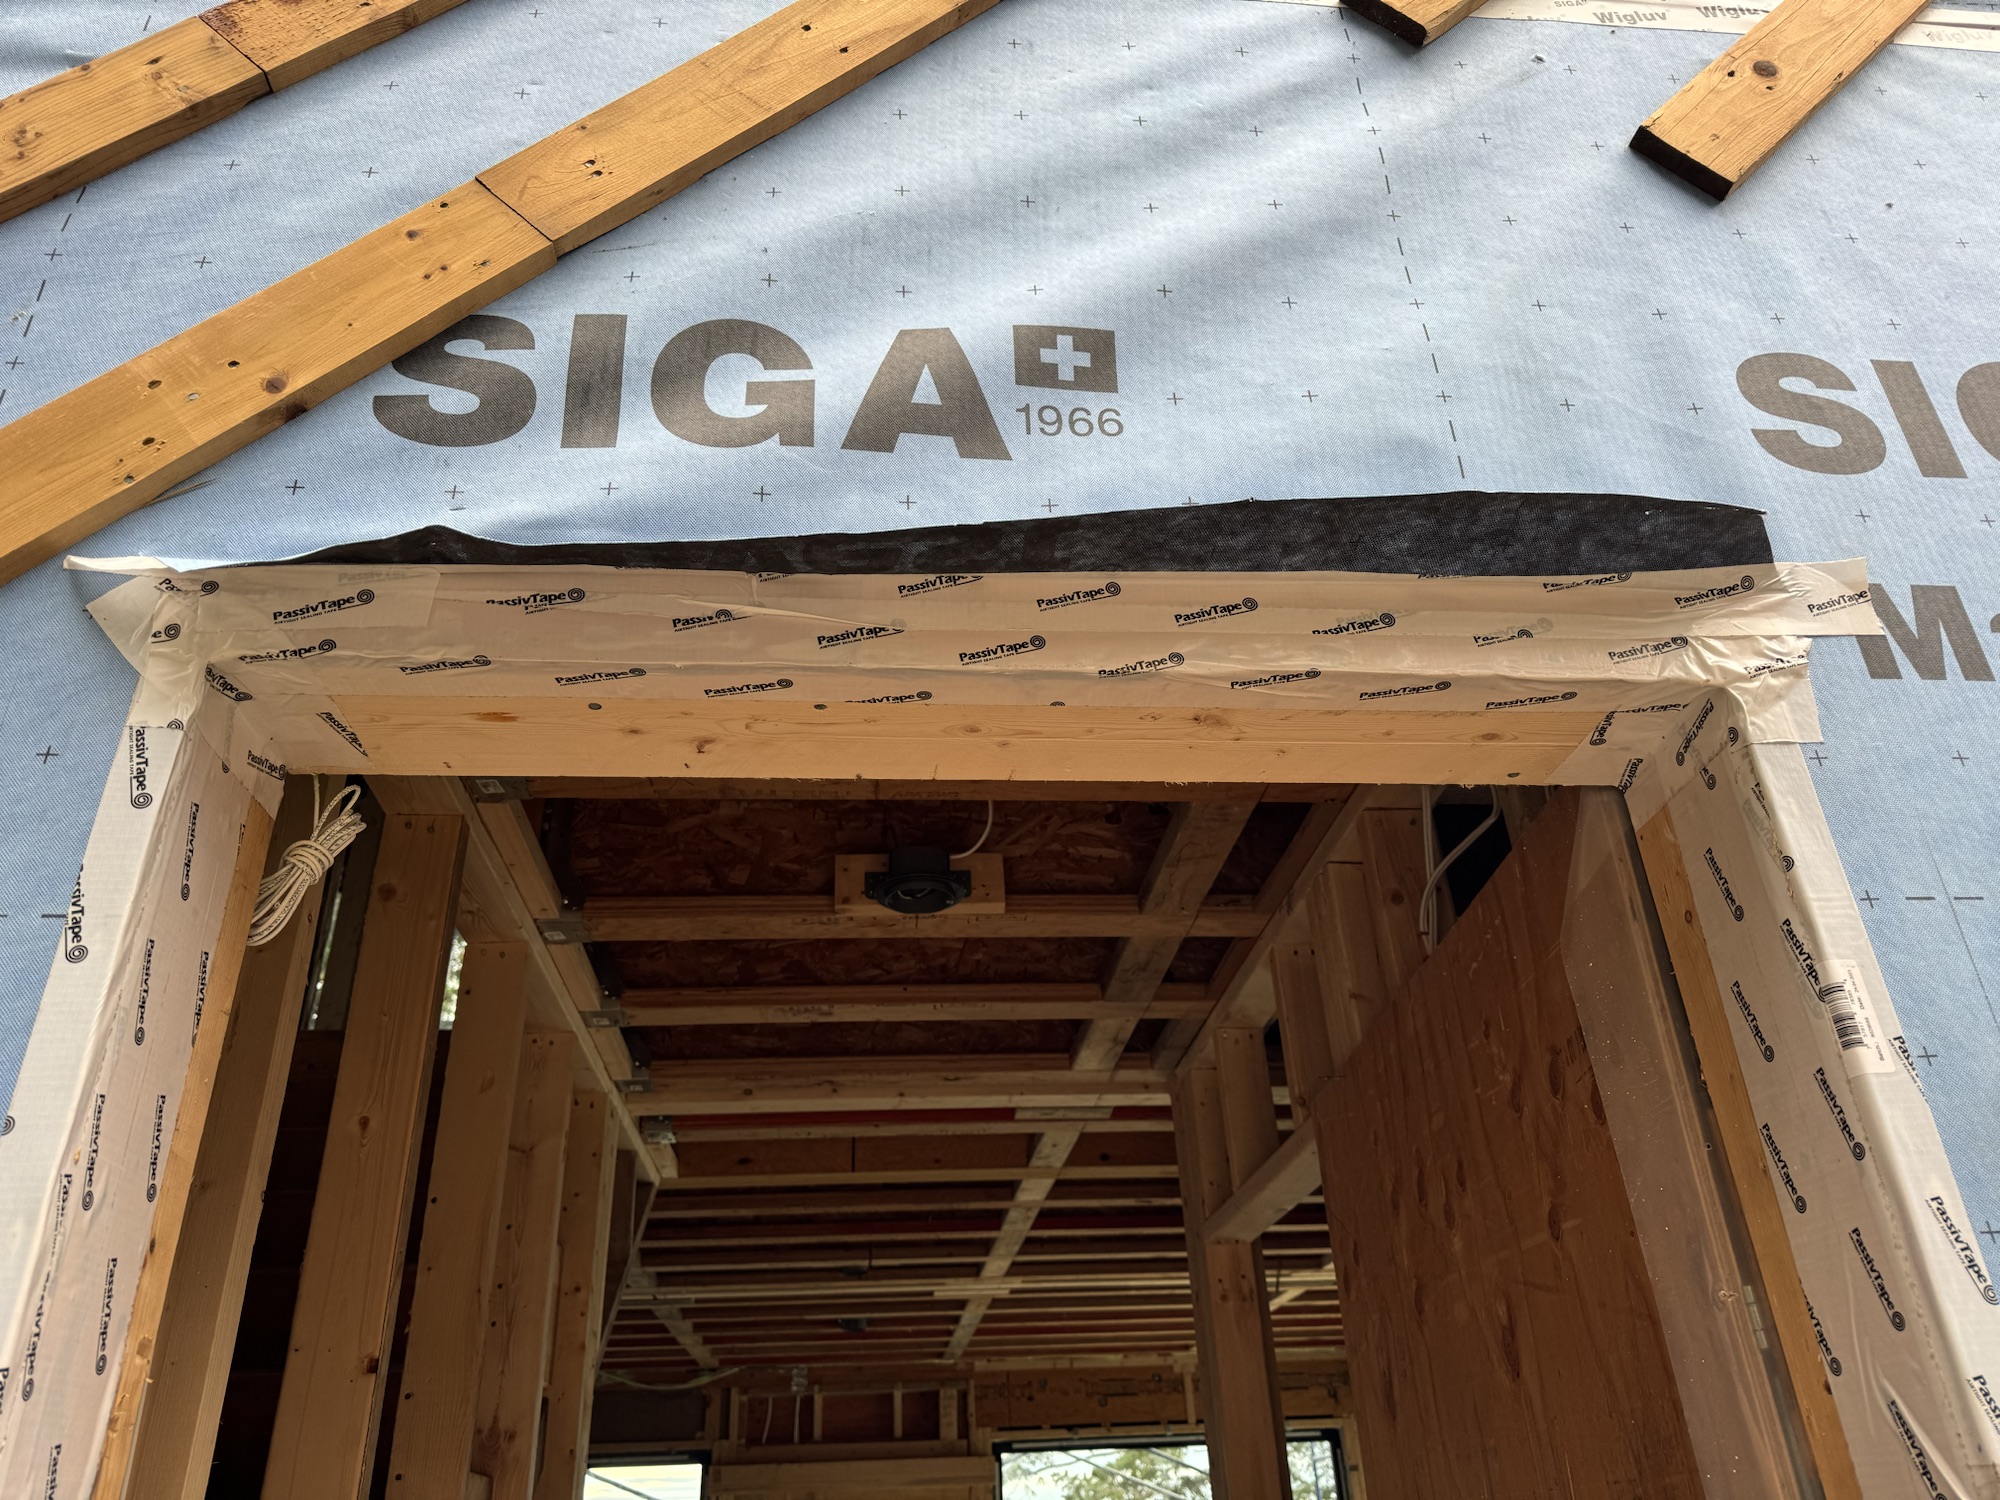
-Window deatailing and house wrap.
Positive lap always.. nearly always. Sometimes with passive construction and expensive tape products, this can be deviated from, when an envelope engineer is involved. Otherwise, it is possible to create an air barrier and positive lap for water by creating a ‘building paper sandwich flap’ which then lapped on to and is taped to the head flashing.

-Sub Trade assistance
Mostly this is about respecting sub-trades time, and making things easy for them. Clear labeling helps, as does a clean job site.
Always ensure local shut off valour is installed for any fossits, hoses get left on, frosts happen, there is nothing worst than having to turn off the water in the entire house because one exterior fossit has a slow leak in the wall because of a frost. Alternatively, have separate post fossits, not installed in walls.
-Exterior Finishing
Most importantly here are things like ‘balancing the tile’ ensuring elevations transfer all the way around, and water tightness. This isn’t complicated, but it is crucial to the longevity of the whole structure. Some modern architects will specify that they don’t want things to be balanced, in which case, do not deviate from plans.
-Interior Finishing.
Mostly things about not deviating from architect or designers plans, but also advocating for sensible use of appropriate materials such as pine for any baseboards that could ever see a mop. There are good places to save costs and bad places. Mdf baseboards are a shortsighted cost saving in most applications.
